How to Sign Off on Waiver Forms
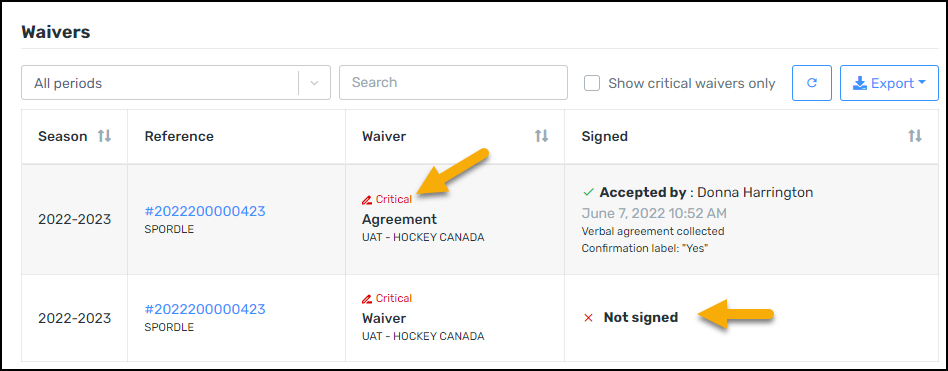
From the waivers tab, you can view a history of all the waivers for this participant from the first season on the platform.
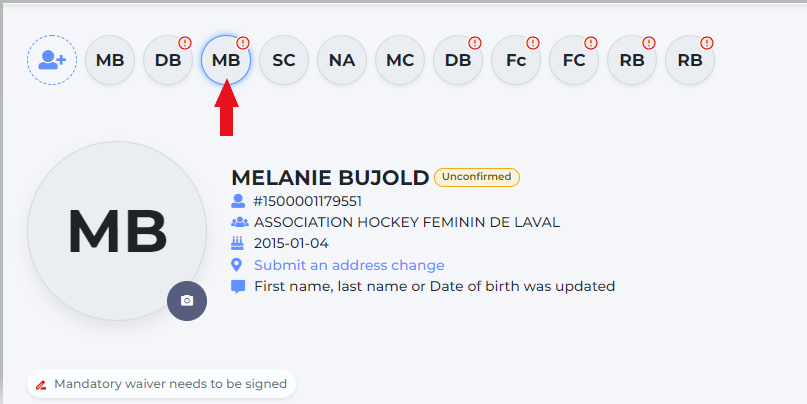
A green checkmark shows that it has been signed, and a red X means that it needs a signature. Waivers that have not been signed will generate a pop-up window in My Account the next time the participant logs in. The parent can then select a Member, and click on the Waivers tab or click the flag for the waivers.


If your waivers aren’t appearing for you to sign try removing the participant and relinking them - this will force the waivers to appear.
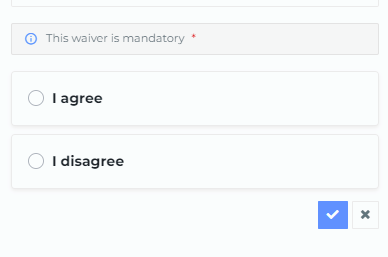
Click on the waivers that have not been signed, this will open the side panel - click on the blue pencil to sign the waiver. Select your answer and click on the blue check mark to save.
Critical waivers must be signed in order to be added to a team.

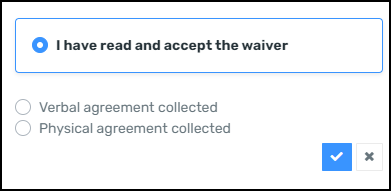
To manually accept the waivers on behalf of the participant by the registrar, click on the waiver to open it. Select the answer from the options, then choose Verbal agreement collected or Physical agreement collected.

A registrar will only be able to sign waivers if they belong to their organization. If a transaction is initiated by another organization and the waivers have not been signed in that organization, they will not be able to sign them. (only parents will be able to do so via My Account)